

It’s time for another sewing-project! There’s already a pincushion and a zipper pouch. Now I’m adding a tote bag tutorial to the list. To make it more interesting, this bag has a pleated motif as a decoration.
As usual, you can download the free pdf-pattern from the side panel.
Here’s what the file looks like. You can see all the pieces. The pleated motif has 1 cm | 3/8 in. seam allowance. The rest is up to you, but I added suggested seam allowances to each piece.

Choice of fabric and cutting the pieces
You can make the whole tote bag in same color, or use a different color for the pleated motif like I did. Choose any fabric you like, but this being a bag, a bit heavier fabric is better. You also have to be able to press the pleats nicely. Cotton is probably the easiest choice.
Cut the biggest piece twice: once with the hole for the pleated motif, and once without it.
You’ll also need 2 handles for your bag. Cut them on fold.
Then there’s one lining-piece that goes underneath the central motif.
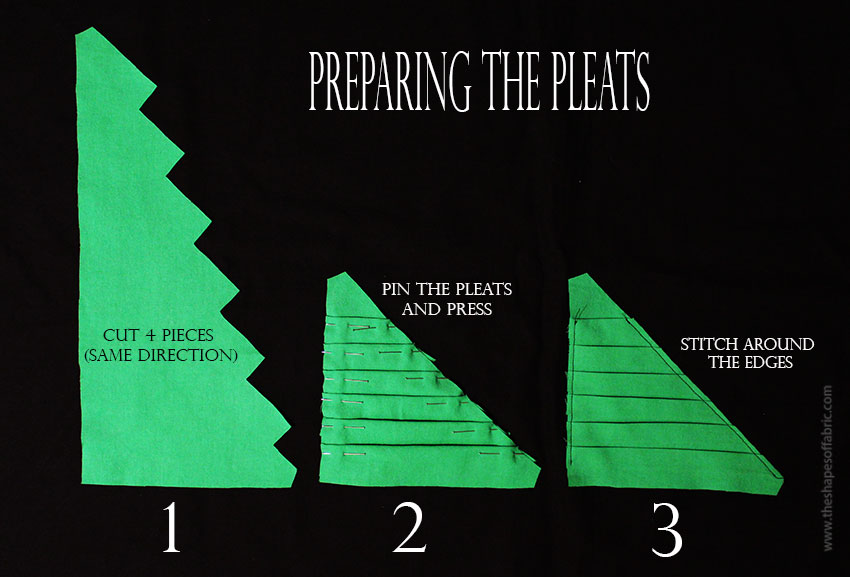
As you can see, there’s only one pattern piece for the pleated motif, too. That’s because it’s symmetrical, so you just need to cut the same shape 4 times. If your fabric has a right and a wrong side, don’t fold it to cut two pieces at a time, because all the pieces have to be identical (not mirrored).
Remember to cut little marks where the pleats are.
Preparing the pieces
Here’s the sequence to prepare the pleats: First pin all the pleats following the marks. Press. And finally stitch along the edges to hold them in place.
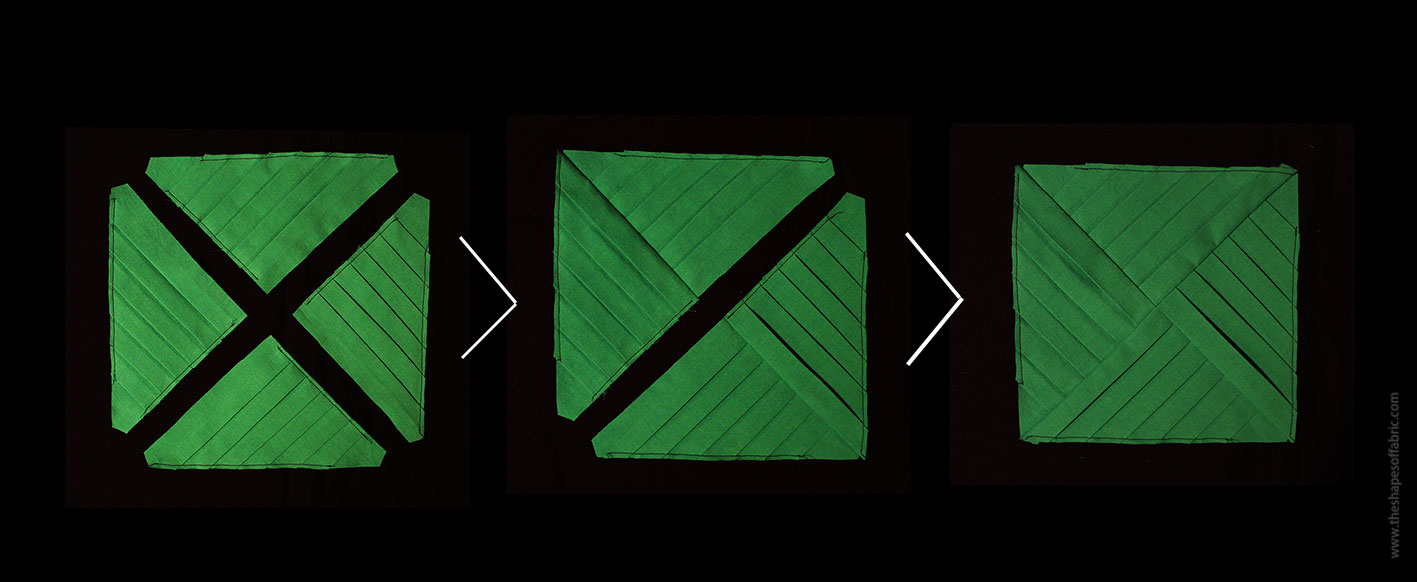
Then sew all the pieces together. I find it easier to sew first 2 pieces together twice and then the 2 pairs together.
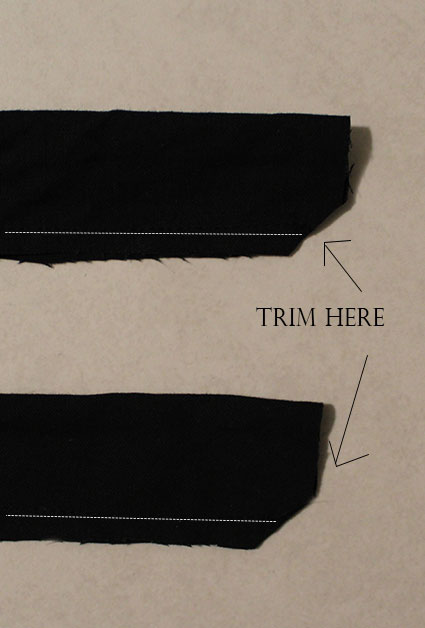
Fold the handles lengthwise in half and sew the edges at 0,6 cm | 1/4 in. Cut the corners.
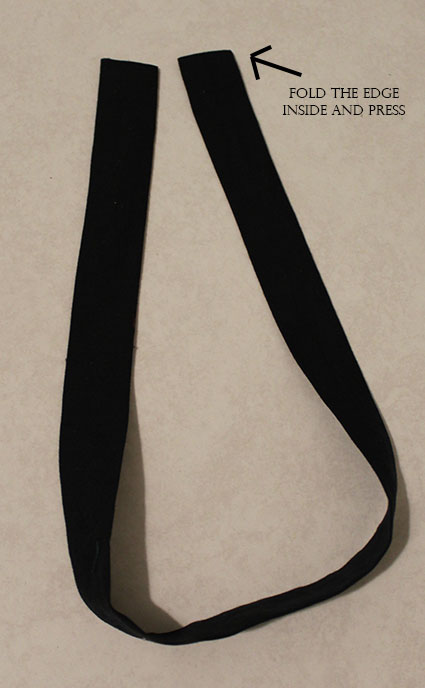
Turn the right side out. This might take some time, but you’ll make it! Then press the handles and turn the remaining seam allowance inside (at the short end).
Putting everything together
Now it’s time to attach the pleated motif to the front piece of the bag. Have you ever sewn angles? If not, here’s how it’s done.
Choose which side you like to do first. Place the right sides together. Start by pinning the end-points, matching the angles perfectly. The seam-allowance is 1 cm | 3/8 in.

Sew this bit, starting exactly at the point where you put the first pin and ending at the last pin.
Before being able to sew the next bit, you have to cut the corner(of the bag) open. Cut all the way to the point where the stitching ends.
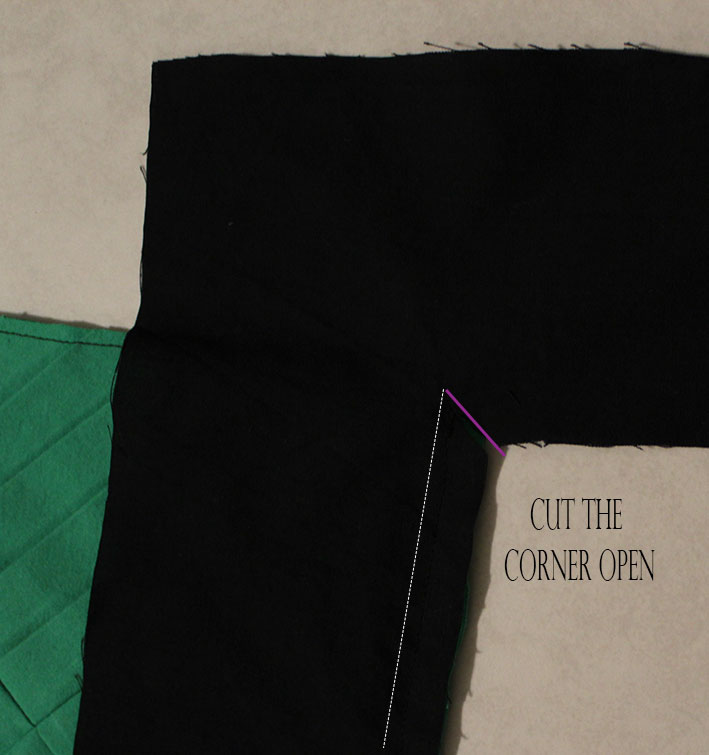
Then you can proceed. Do all the sides in the same way. Start sewing from the same point you ended the previous stitching. Once you finish all 4 sides, press.

Then you can attach the lining-piece underneath. Just pin it and sew, going on top of your previous stitching. You can finish the edge with zig-zag stitch or serger, depending on which machines you have. Now or later.
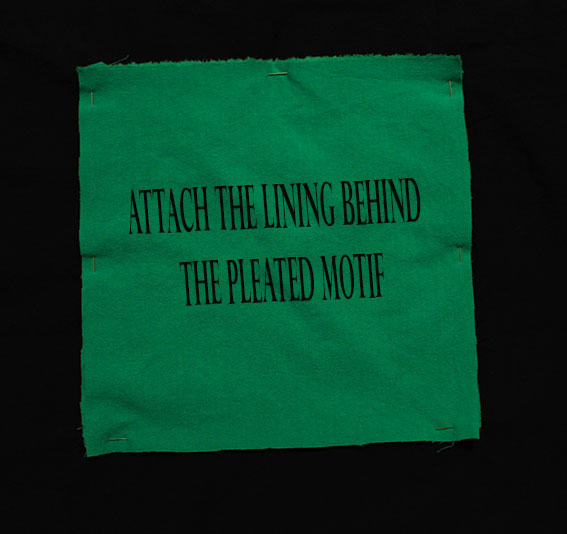
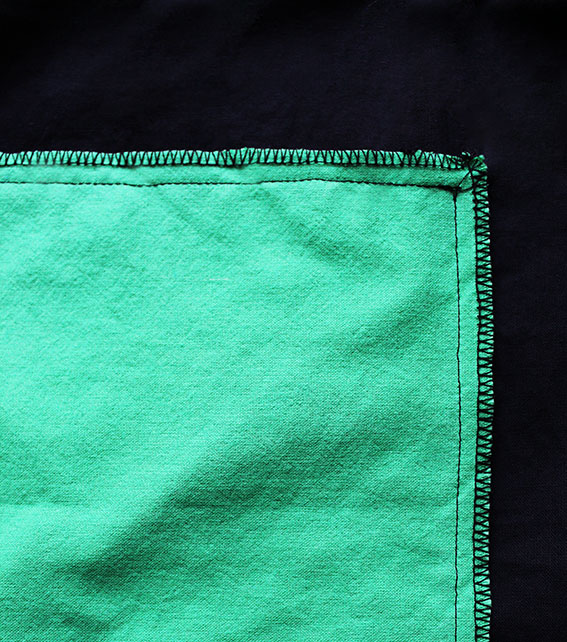
Next you’ll sew the front- and back-piece of the tote bag together. I chose a French seam, but you could do a normal seam, too.
For the French seam, first sew the pieces wrong sides together at 0,6 cm | 1/4 in. Trim the corners and turn the wrong side out.
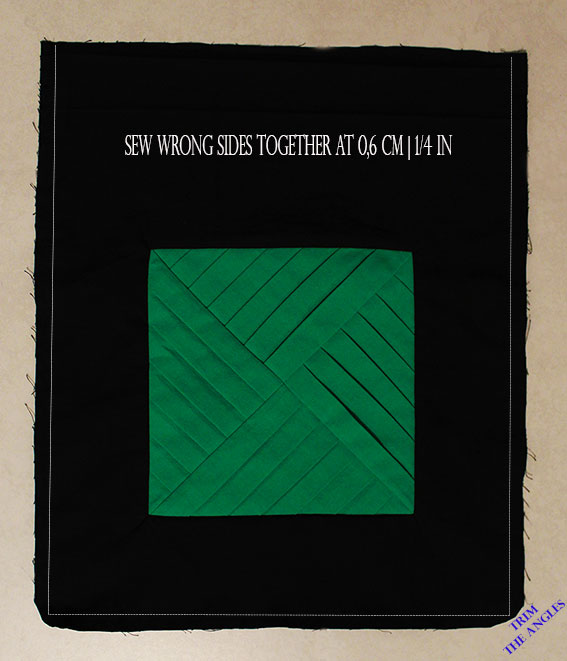
Iron the seams nice and flat before doing the second stitching. This time remain a little bit further away from the edge, so you’ll enclose the previous seam allowance in. Iron.

Next up, it’s the upper border. Fold first 1 cm | 3/8 in. and from there 4 cm | 1,6 in. under. Stitch near the edge.
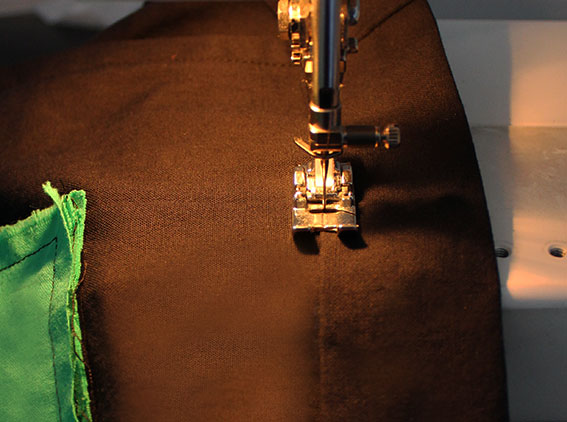
The last thing missing are the handles. I placed mine at 8,5 cm | 3,3 in. from the edge, aligning them with the previous stitching (=the one in the picture above). Do some extra stitches so they won’t come off. For example like this:
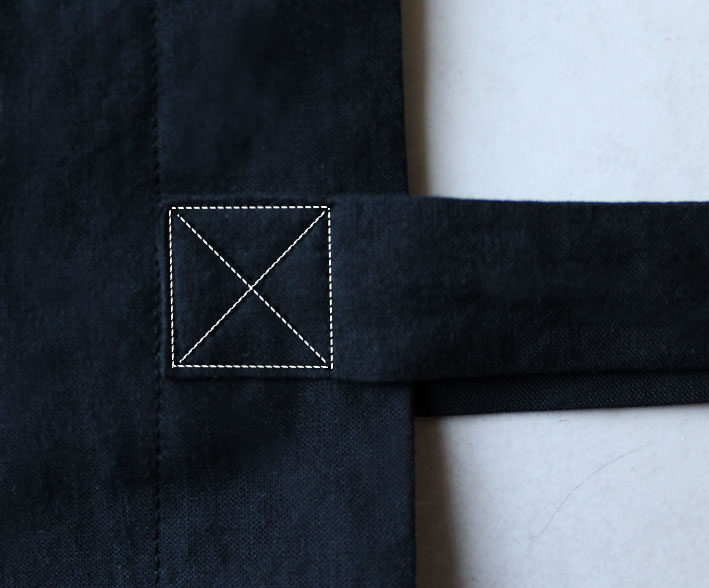
And your tote bag is done!


3 Comments
Thank you for this pattern. I love the pleat motif! I think it might be easier to frame the pleats with four pieces (top/bottom and sides).
You’re welcome! 🙂 I think you should try it both ways and decide which is easier. Let me know how it goes! Happy sewing!
Pingback: Sewing pattern: Tote bag with a pleated motif – Sewing