It’s September, and I made myself a ruffle shirt. Not just any ruffle shirt, THE ruffle shirt!
I know ruffles are usually a summer thing, but I’m going to be wearing the shirt now. After all, it’s still summer in Italy. Very pleased with the outcome.
The shirt itself is quite simple: Dartless bodice block base, seam at the c-front with a little slit at the top for the head to pass through, long basic sleeves.. nothing particular about it. But then you add the ruffle, and Boom: the whole thing turns into something special!
This was the pattern:

It’s from my new Pattern Guide, entirely dedicated to ruffles and flounces.
If you have the dartless bodice block, you can pretty much see the basic shape behind this. The little dart is optional. In fact, I left it out. You can create it by removing volume from the front armhole and turning it into a little dart. I wanted my bodice to be as plain as possible except for the ruffles.
There’s a seam that goes across the front bodice and continues onto the sleeve, dividing it into two pieces. It’s for the ruffle. My ruffles are 12cm high.
I added a button and loop closure at the front neckline. There’s also a neckline facing.
The fabric I used is a lightweight, grayish-blue cotton. It did not look very nice after it came out of the washing machine! This is what it looked like before:
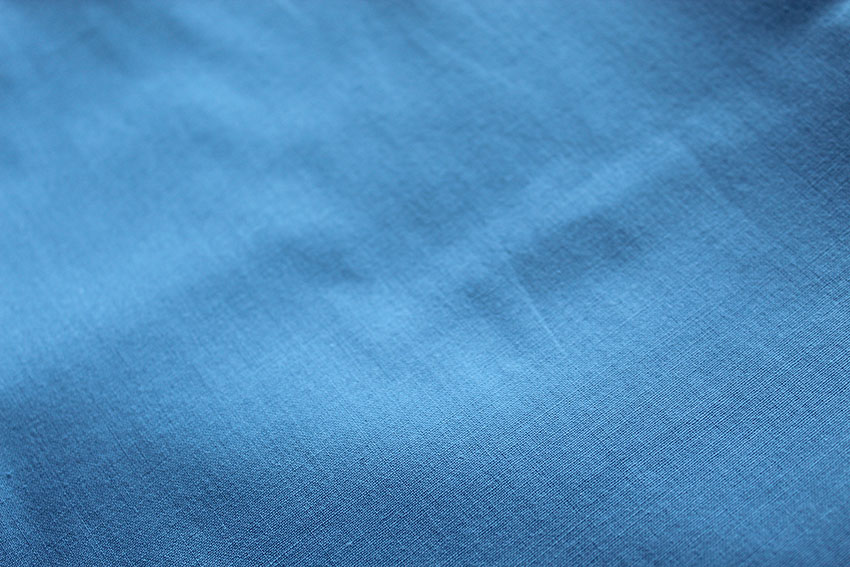
So, just a warning, you’ll see lots of creases in the following pictures… It’s still too warm to spend much time with the steam iron.
You need a fabric that looks the same on both sides, at least for the ruffles, because you will see both sides when wearing the shirt. Unless it’s a double-face fabric. That would look quite cool actually!
Sewing the Ruffle Shirt
The sewing order required some extra planning as the ruffle seam cuts the pieces in half. I wanted to end up with all the seams nicely finished with the serger.
So, I worked one step at a time, starting from the neckline facing: I closed the shoulder seams and finished the edge with the serger. There was only dark blue thread in my stash for the serger, so I went with white instead.

Then, I closed the bodice shoulder seams, too, and sewed gathering stitches around the sleeve cap. In this case, there’s ease only at the back sleeve piece.
I like to sew gathering stitches even when the sleeve cap isn’t visibly gathered because it helps to ease it into the bodice armhole.

After this, it was time to figure out how to attach the sleeves so that I’d get a continuous seam for the ruffle. This was the order. I finished each seam with the serger as I went.
- Close the bodice side seams.
- Close the sleeves’ inseams.
- Attach the sleeves to the bodice armhole.

At this point the bodice c-front seam was still open, as was the ruffle seam, leaving the sleeves open, too. But, I had continuous seams to attach the ruffles.
The Ruffles
So, how about the ruffles, then? Well, it’s a good idea to finish the hems before gathering. Make them nice on both sides, because you will see the wrong side, too, when wearing the shirt.

In the picture above, you can see the narrow hems and the gathering stitches I sewed right after. Yes, I know you’re supposed to sew two rows of gathering stitches, but my fabric was so lightweight I figured it would work with just one row. And it was fine.
There were a few notches along the top edge of the ruffles, so that I could distribute the gathers evenly. Of course, you can’t really see the notches once you start gathering, so mark them with pins.
I gathered the ruffles to match the seam length and the notches. Then, I added a very large amount of pins because I was too lazy to baste, and closed the seams.

I was very excited to see the result!

Next step: close the c-front seam, leaving an opening at the top, and hemming the bodice and the sleeves.
With the sleeves, you just need to careful not to catch the ruffle into the stitches.

Finally, I finished the neckline with the facing. Here it is pinned:

The facing also conveniently covers the front opening. After sewing, I pressed the neckline flat and attached the facing with a few hand stitches so that it would stay in place.
Here, you can see the button I managed to find in my Danish Butter Cookies box. (Yes, I’ve got one, too!) Would’ve preferred a white button, but this was the only suitable button and loop -style button I had.

As for the loop, I opted for crocheting one and sewing it in place. The thread is the same one used for sewing the shirt, just doubled.

It’s Showtime
How did the DIY ruffle shirt turn out? Let’s reveal.
Well, it definitely turned out pretty! It even goes with my dressform.

It’s like wearing one of those twirly skirts! Love the color, too.

In the end, it was easy to make. You can even tell from the length of this tutorial. It’s incredible how two gathered rectangles can totally transform the look of a shirt. 😀
You’ll find the Ruffles & Flounces pattern guide here. Alternatively, check out the tutorials listed below.
Here’s a video tutorial to draft another type of a ruffle blouse.


4 Comments
Love the pictures!
Thank you Ashley! 🙂
hi Milan!
this actually turned out pretty nice plus I liked the idea of crocheting the loop, it adds a tiny little detail of playfulness. it is so beautiful and I love it.
Thank you! 🙂 Yes, I thought it looked better. More delicate.