

We are pretty much halfway through the year and my #makenine grid has still over half of the projects left. So, I figured I should pick one and made myself a vintage style dress for the summer.
This was a sewing project that I had bought fabric for already in March 2021! That’s over a year ago. It’s also a dress featured in my Vintage-Inspired Dresses pattern guide. It was very much inspired by the Mad Men series I was binging at the time.

The dress has a Peter Pan collar, button placket with tucks on both sides, and a skirt with inverted box pleats. I also decided that my vintage style dress should have short sleeves with tucks.
The button closure is decorative and there’s a zipper at the center back. I lined the bodice.
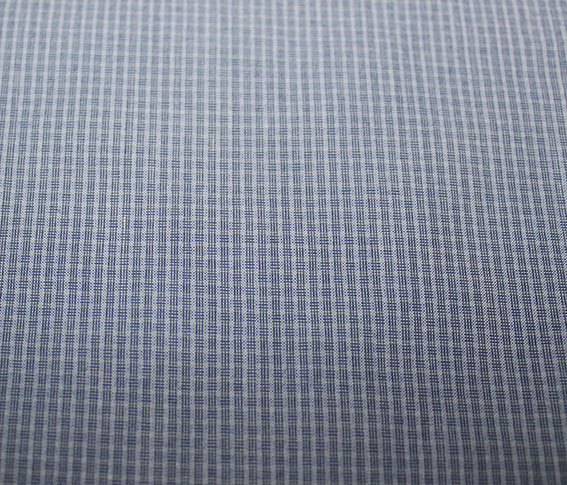
Here’s the fabric. It’s tightly woven, rather crisp cotton. The color is greyish blue.
Preparing the Tucks
The very first thing I sewed were the tucks. If you want to add some to your garment, too, it’s very similar to adding pleats; they are like tiny pleats. Have a look at my tutorial on tucks.
To sew the tucks, it’s a good idea to press them first. I cut notches at both ends of the tucks, exactly in the center of each tuck allowance. So it was easy to press them simply by folding where the notches were.
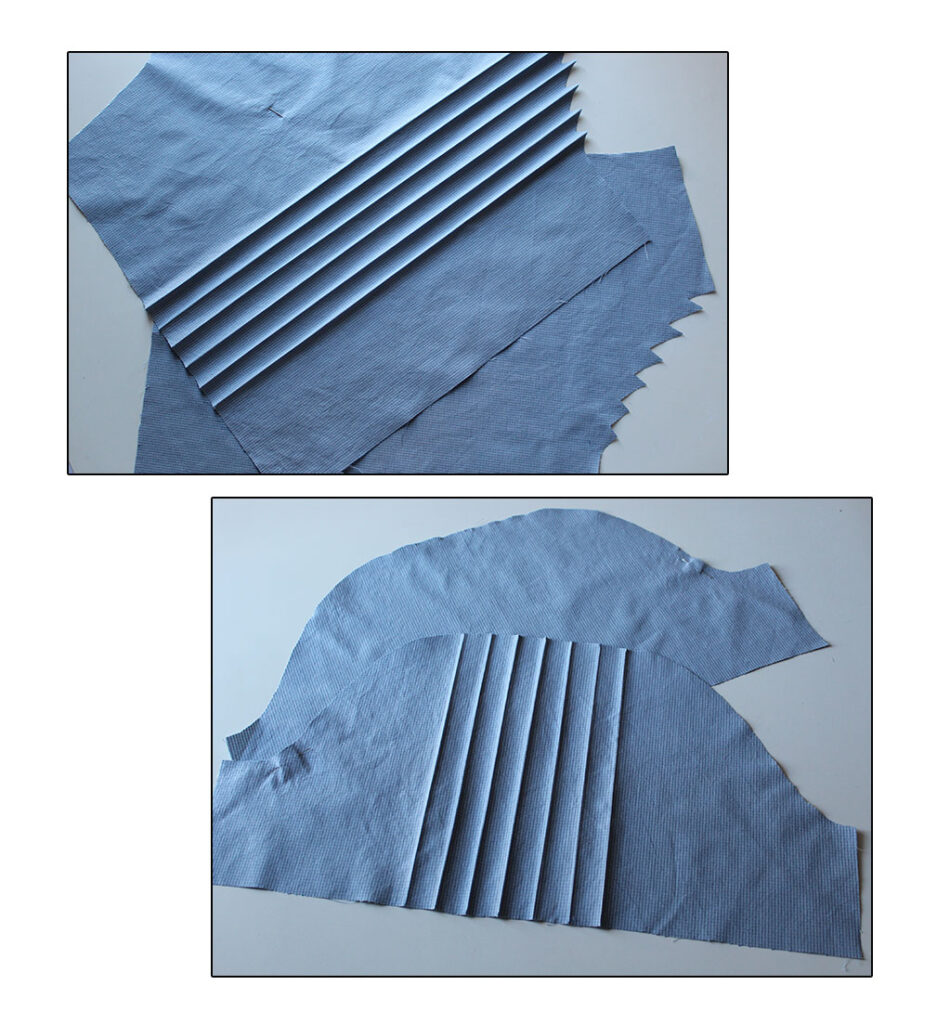
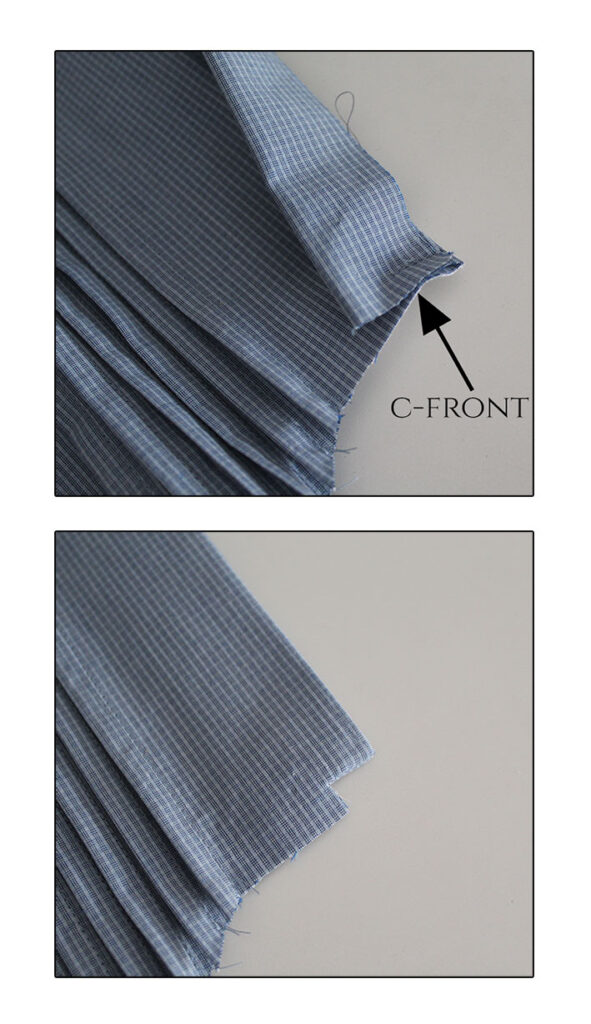
After this I sewed the tucks. You need to be quite precise because if you sew them too wide, the garment becomes too tight. I then proceeded to pressing the tucks away from the c-front (bodice) and towards the sleeve back (sleeve).
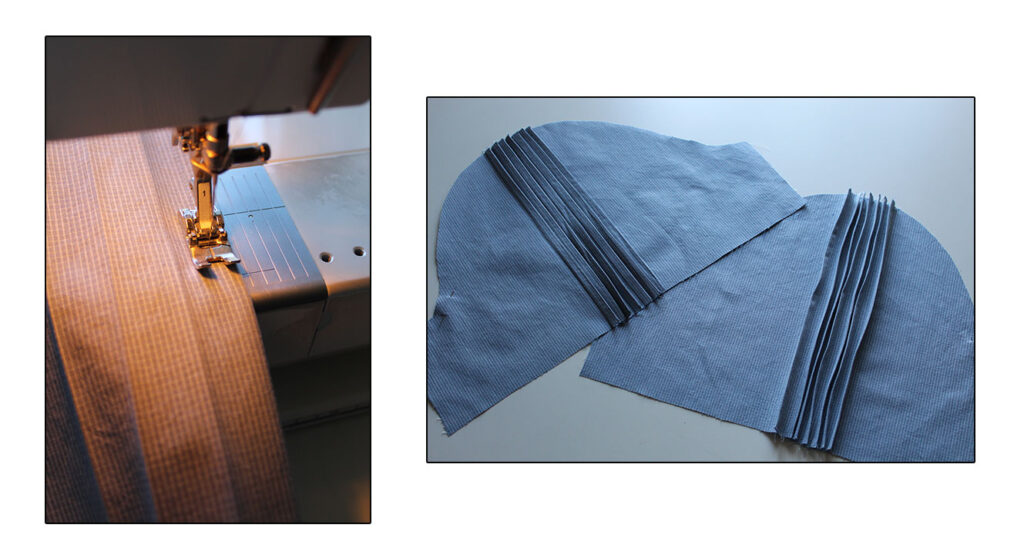
After that, both the bodice front and the sleeve pieces were back to the correct size.
Sewing the Dress Bodice
I sewed the darts and fused an interfacing to the button placket. Although it was only going to be a decorative button placket, I still wanted it to have actual functional buttonholes.
In this case the interfacing covers just the uppermost layer of the button placket. It’s because I only had midweight interfacing and it would’ve become too thick otherwise.
Here you can see how I also pressed the button placket folds already.
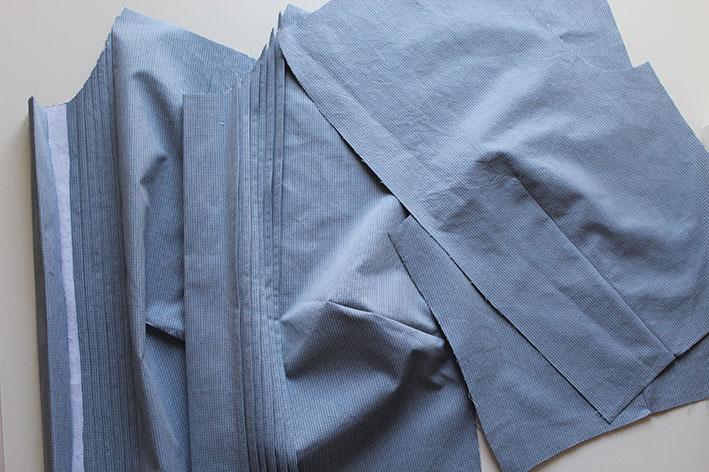
As the collar was going to start at the c-front line (=in the middle of the button placket), I prepared the top edge like this:
And then I closed the shoulder seams and completed the two collar pieces. I show you how to sew the Peter Pan collar here.
Before attaching the collar, you also need to prepare the lining layer, or facing, separately.
Attaching the Collar
Here’s how I attached the collar.
- First, I pinned the collar pieces on the right side of the bodice neckline, right sides up, matching the notches. As there’s a closure at the c-back, too, the collar needs to be open at both ends. Then I sewed the collar in place. Notice, that you shouldn’t catch the button placket folds into the seam at the c-front.
- Next, I pinned the bodice lining, right side down, to the neckline, and sewed it. This leaves the collar sandwiched in between the main layer and the lining. Then I trimmed the seam allowance in half and made a few cuts to make it easier to turn the right sides out.
- Finally, I understitched the lining to the seam allowance, and then pressed it to the inside of the bodice, flattening the neckline.
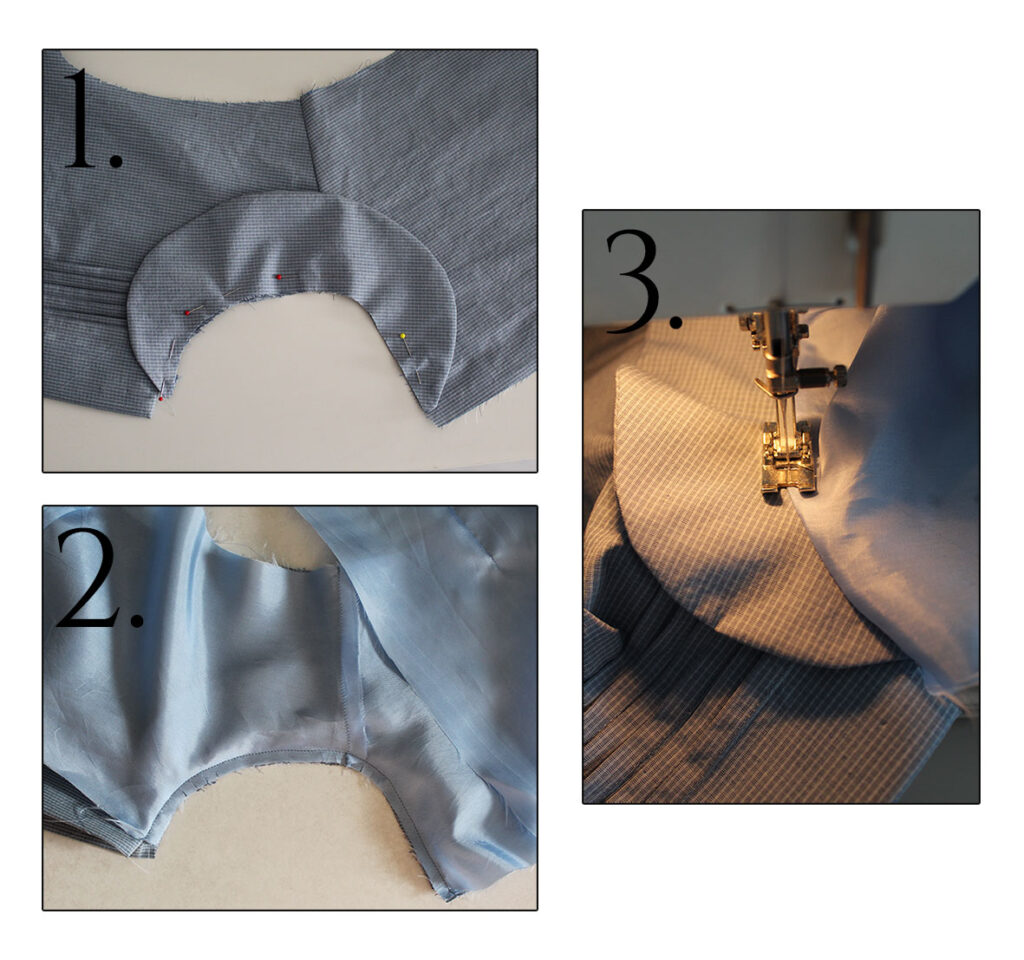
I find this method the easiest way to attach a Peter Pan collar. You can also use a facing.
Completing the Button Placket
If you’ve managed to keep the button placket folds away from the neckline seam, you will now be able to slip the lining under the button placket.
The lining should arrive to the c-front line, which means that it covers half of the button placket width. A facing would work in the same way.
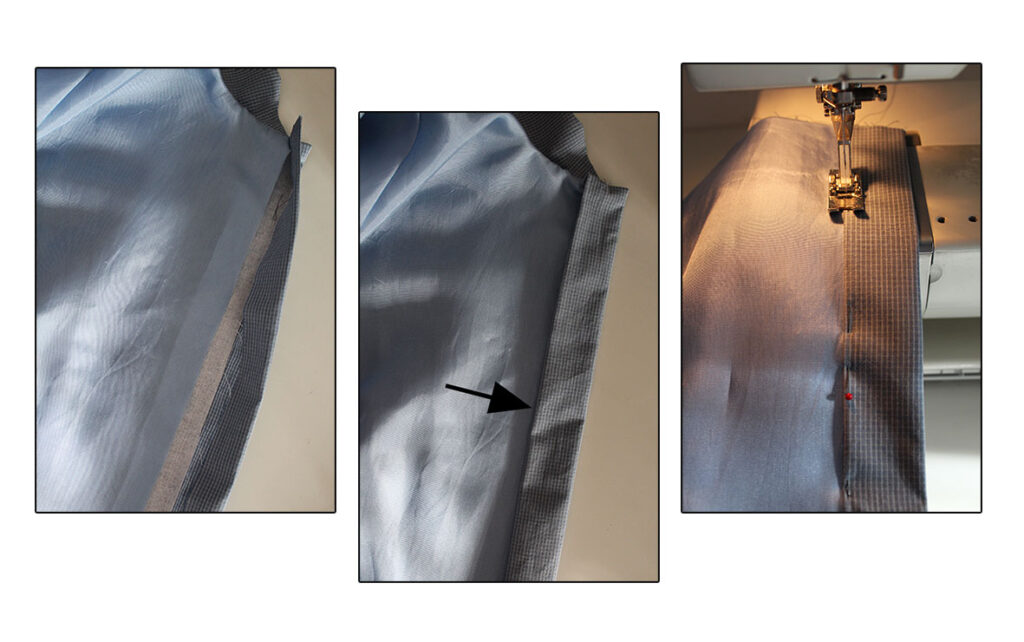
As the lining was very slippery I ended up adding quite a few pins to hold it in place while sewing the button placket.
The Sleeves
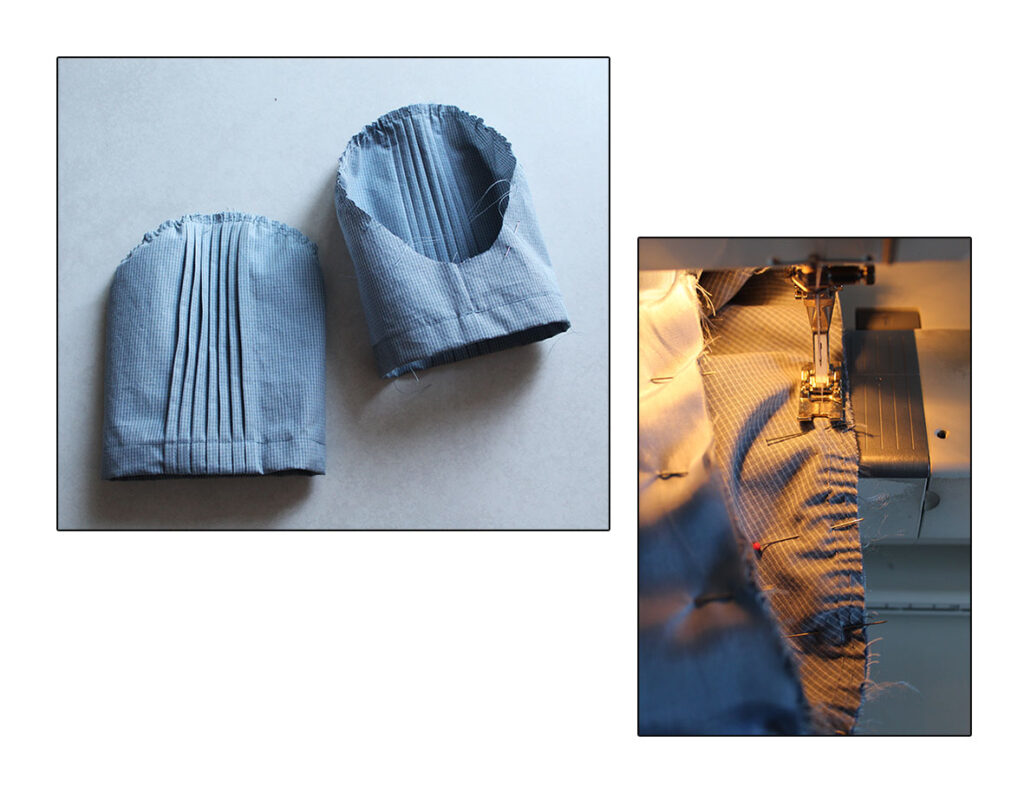
What about the sleeves then? Well. after having sewn the tucks, I closed the sleeve seams, sewed two rows of gathering stitches at the sleeve cap between the armhole notches, and pressed & sewed the hems.
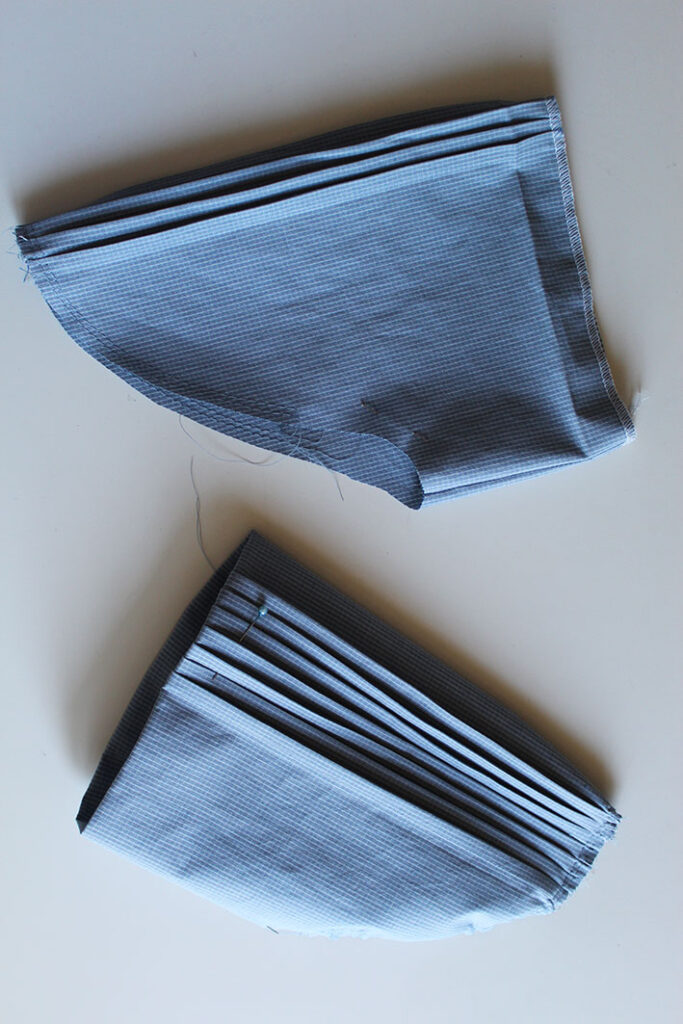
I ended up shortening the sleeves later though.
Then I closed the side seams of the bodice. So this is what I had (yeah, that’s a skirt I posted on Instagram that became a head…):

To attach the sleeves I turned the bodice wrong side out while keeping the sleeves right sides out, and pinned them into the armholes, matching the armhole notches, the seams, and the cap notch with the shoulder seam.
You gather the sleeve cap to match the armhole. You can also steam the sleeve cap after gathering (before sewing it in place) to give a rounded shape to it. Although some fabrics are not very easy to shape.
Buttonholes
To complete the bodice I still needed to make the buttonholes and sew buttons.
I had a hard time deciding the color of the buttons. My candidates were: greyish blue, pearl white, dark blue, and dark grey. After a lot of back-and-forth I finally went with dark grey, but that was just because they didn’t have dark blue in the size I wanted.
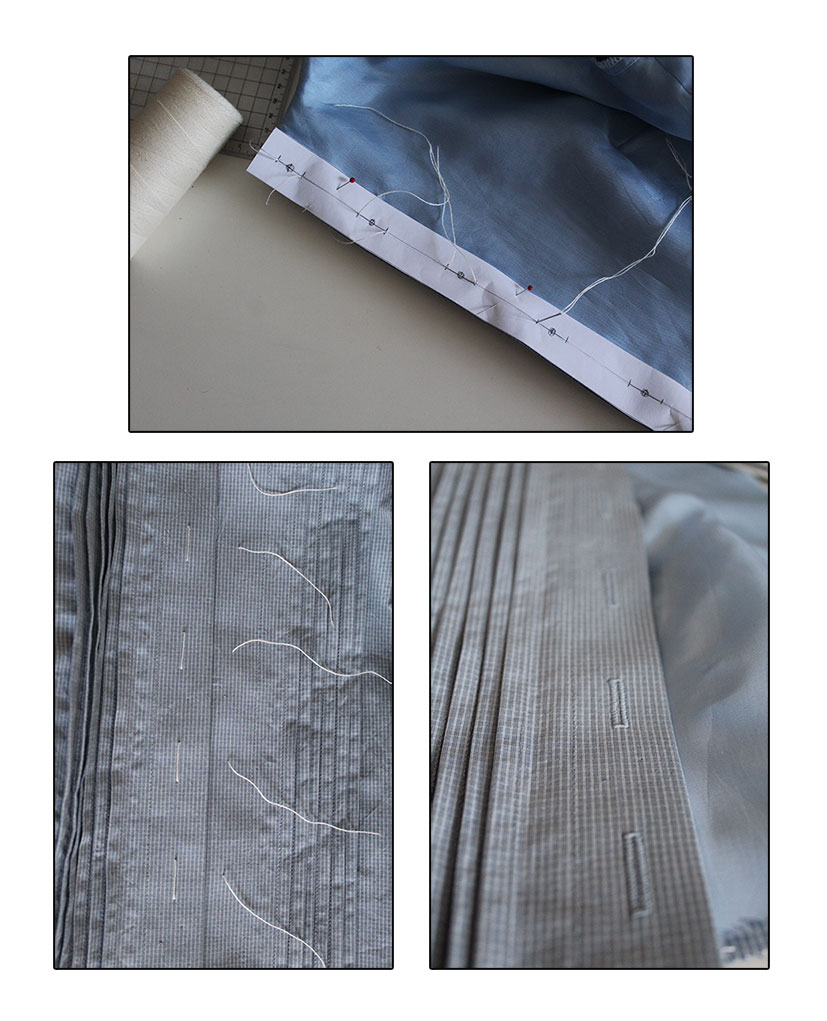
As you know, I like to prepare a template for the button placket to mark the buttonholes and button placement with basting thread.
The buttons go on the left and buttonholes on the right.
Sewing the Pleated Skirt
My vintage style dress has a skirt with 5 inverted box pleats both front and back.
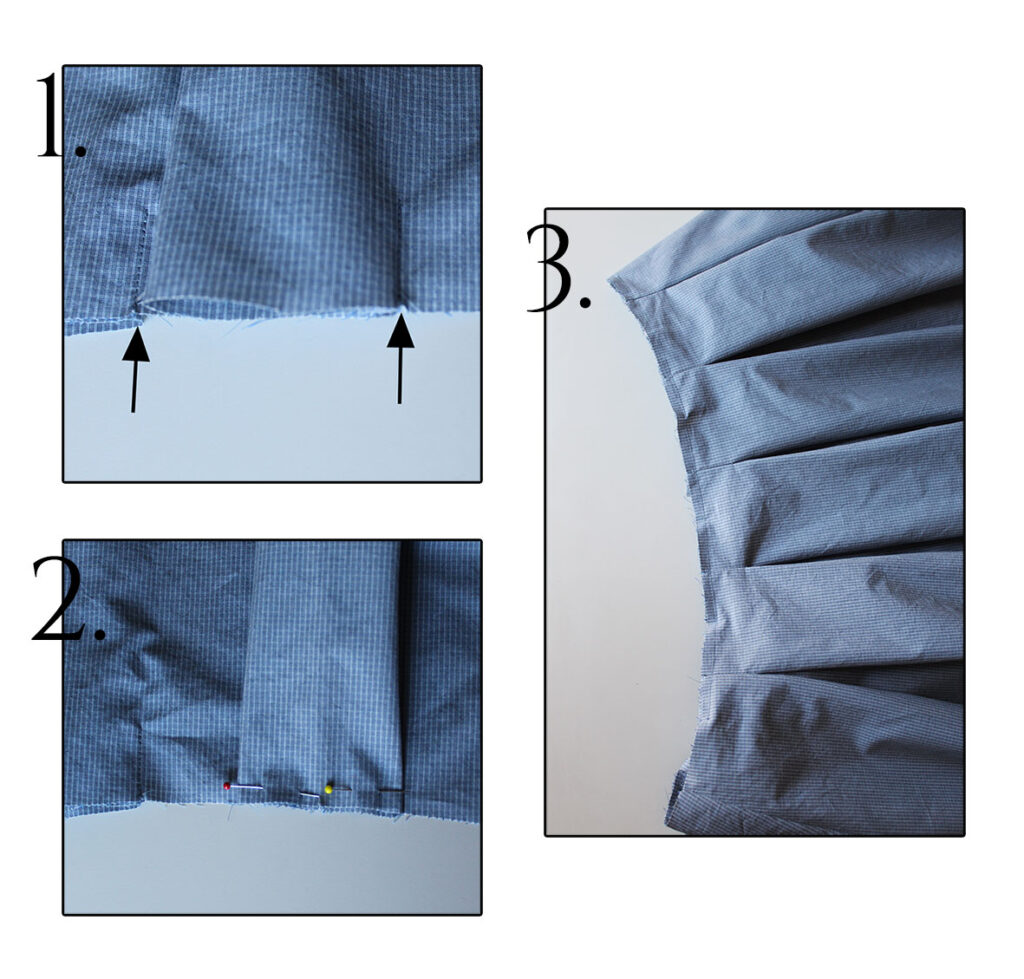
Here’s how I prepared the pleats.
- I cut notches at either side of each pleat allowance and also in the center of each. So, I then brought the two sides together and stitched a small vertical seam, forming a loop.
- Then, I flattened the box pleat symmetrically around the point I had stitched and added pins. Basically, I matched the remaining notch with the previous seam.
- I stitched along the waistline to fix the pleats in place. Notice, that the box pleat at the c-back starts where the zipper ends (at hipline). The section above it has been “emptied” of pleat allowance.
After I had prepared both front and back pieces like this, I sewed the side seams and hemmed the skirt. At first I was going to make it a midi-length skirt, but decided to shorten it and make knee-length instead.
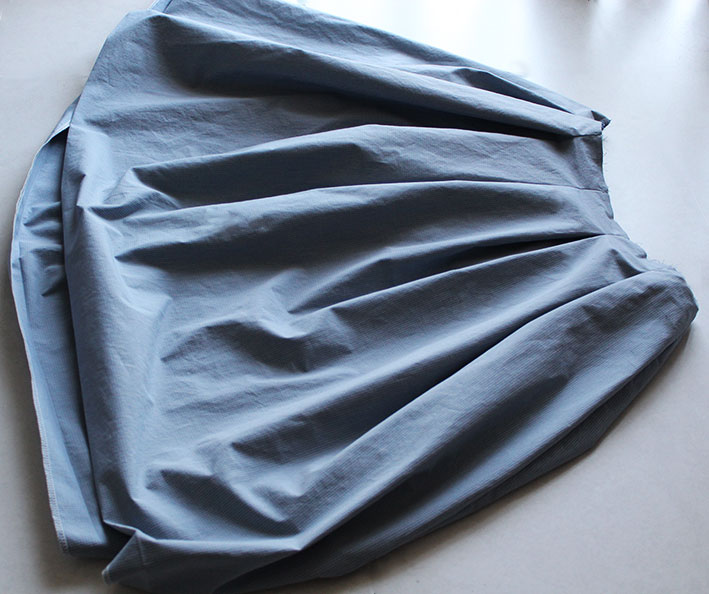
As the bodice was ready I could then attach the skirt.
To avoid a hassle I just treated the main layer and lining as one, except near the c-back where I wanted to sandwich the zipper between the two layers.
The Zipper
I picked an invisible zipper as usual and used my invisible zipper foot to attach it.
The first side of the zipper doesn’t necessarily need basting. Pins are enough. But I prefer to baste the second side because otherwise it’s too difficult to match the sides.
As I had united the lining and the main layer at the waistline, I then had to hand-stitch the lining to the zipper.
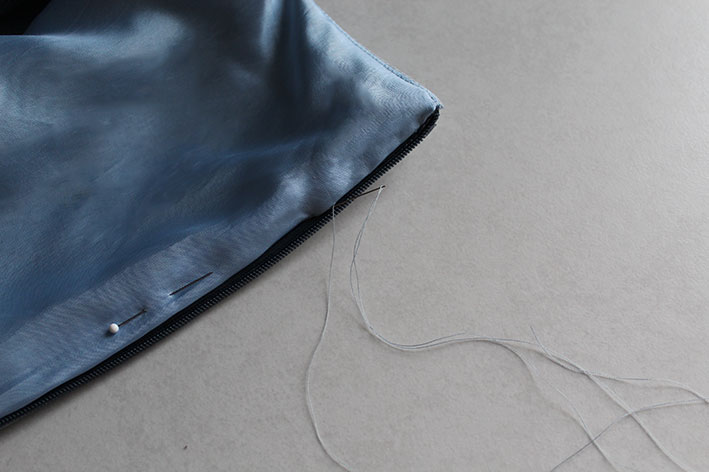
Here you can see what I meant with the box pleat starting below the zipper. The arrow is where the zipper ends. I fixed the box pleat under it.

And then my new vintage style dress was done! Let’s see some pics.
Vintage Style Dress Pics
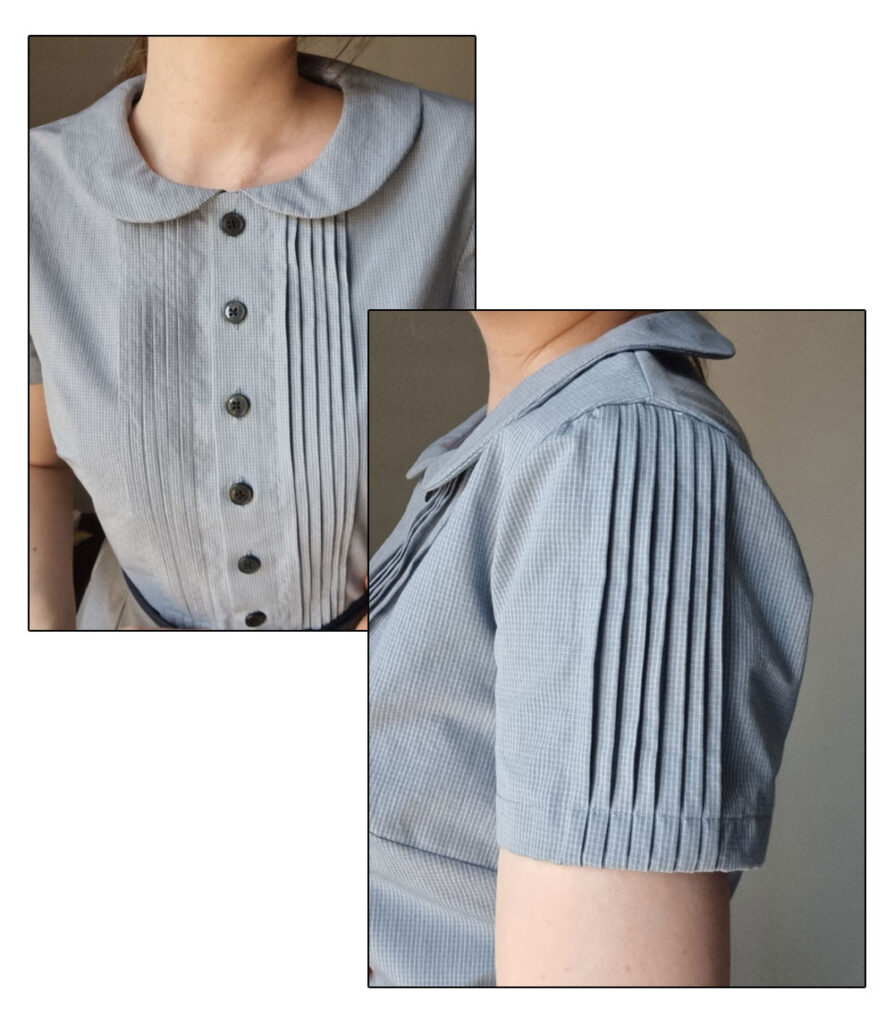
Here are a few details first. Those dark grey buttons and sleeve tucks.
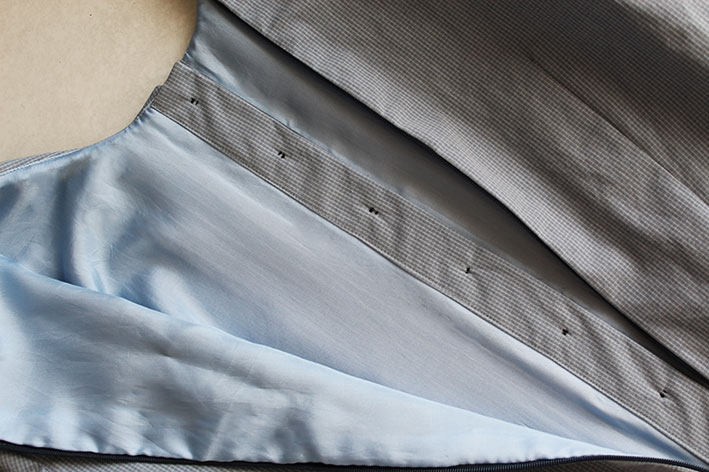
This is what the inside looks like. I guess I could’ve done it just with a facing, too, but the lining makes it look so clean! Plus, I managed to find a matching color. 😀
And finally, here’s me in my vintage style dress. It needed a belt.

If you like vintage style clothes, have a look at this swing dress sewalong and my Mrs Maisel dress tutorial, too. To draft this pattern, check out the Pattern guide I mentioned in the beginning.
I think I’ll make the shirt dress next!


12 Comments
Absolutely stunning! My face lit up when you said it’s a vintage style from the Mad Men series. It was only last week I was looking at some of the actresses styles from the show. 😀
Thank you! 🙂 That show definitely had some great costumes! I was convinced right from the first episode. 😀
Simply Stunning.
Many thanks! 🙂
Very inspiring 🙂
I like the lining part : I really need to practice my lining skills, the final result is worth the effort.
If I could only find a light wool fabric, I plan to make a dress a bit like this one for winter.
I really enjoy your Vintage-dress Guide : works every time so far 🙂 I already made two swing-dresses and a buttoned-up one with shot sleeves, I need to try one with tucks.
Thank you. 🙂 Yeah, the lining always makes dresses look more polished. I’m happy that you’ve been utilizing the vintage dresses guide!
This is simply gorgeous and truly inspirational.
Thank you so much! 🙂
The patterns looks good 👍
Thank you! 🙂
Beautiful skills and look in this dress. Those tucks are so perfect!
Thanks so much! 🙂 I think the fabric helped me a lot. 😀